Wednesday, November 20, 2013

Hi DIY's! This is a project I've wanted to do for a long time but since I use my kitchen so much I really had to time it right. Everyone knows how much I like to cook and repurpose old things and my kitchen was no different. When I bought this house I gutted it and rebuilt it the way it fit me. Since I'm a big man I don't like to bump into things while I'm trying to do something so out with all the needless items and I'm 6'4" so, I don't like working while bending over either. This kitchen was originally a "Galley" type (more like a hallway) and I wanted to be able to exit the back of the house without having to go through the kitchen so I needed an Island. I just saw cut the floor from the wall where all the service was over to where the new sink would be. I bought several antique sideboards that I thought were interesting and built the cabinets around them. This post is about the countertops so I'd better get to it. I rescued two pallets of Travertine pavers headed for the landfill because they had gotten broken during shipping from Italy and I like the way they looked and thought they'd make great stone countertops. You be the judge? This is what I started with~ (Yuk)

 That's my helper my oldest Grandson Robert when he was about 3.
You can see I got rid of all the linoleum and carpet and then stained the concrete floor to look like stone.
Here's what it looks like now 
You can see my old Imperial stove, another refuge from the dump. It came out of an old restaurant years ago and I've been dragging it around with me wherever I've lived. There's no gas in this neighborhood either so I plumbed the house for gas and installed two 100# propane bottles outside. I also took the overhead cabinets and hung them along the back wall of the garage so I didn't lose any storage space.

 I took out some walls and built the paralipsis arches


 All the lighting is now low voltage and suspended

So, back to the countertops- When I first built them I finished them with sealer just like the floor. It was very rustic and beautiful, but hard to keep clean so this time I refinished them with high temp
  two part Epoxy resin so they would be sealed and       flat on top like granite and easy to care for. 
But first             I had to take off the old finish! Ha, ha, ha.
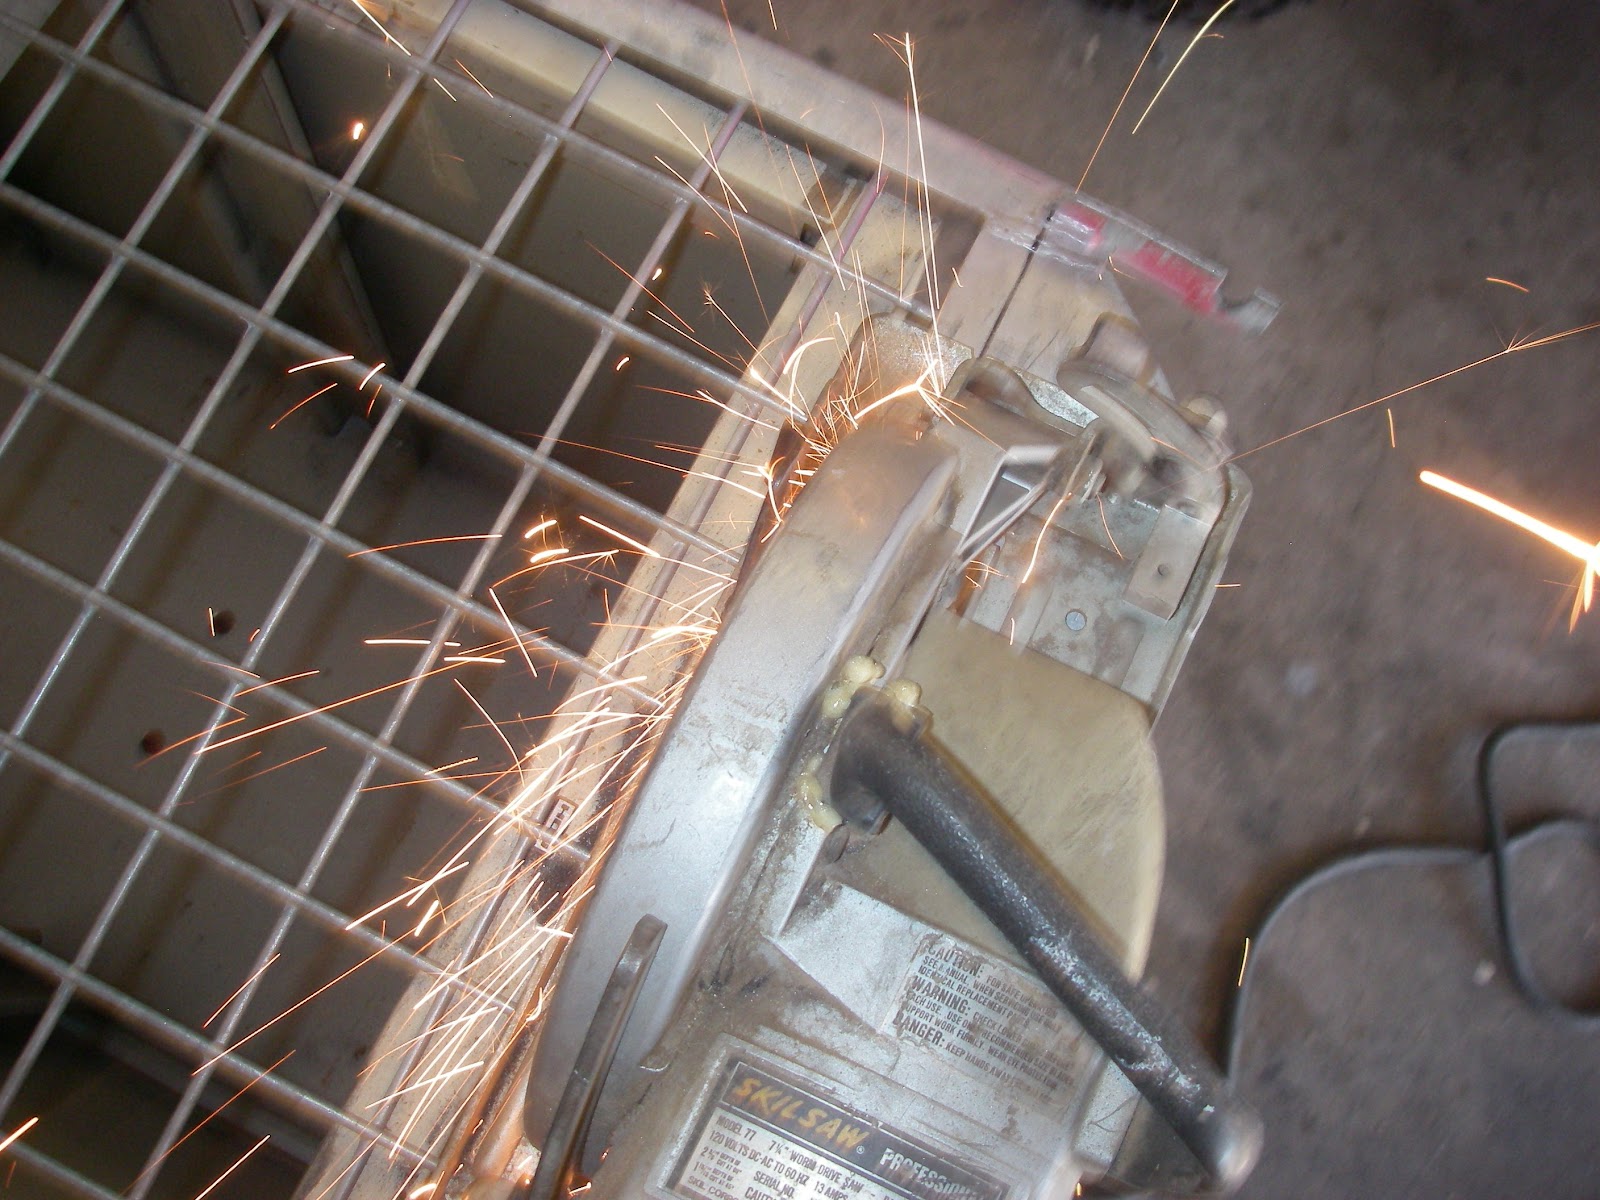
     I taped off the room with 7 mil plastic to isolate as      much of the dust as possible and wore gloves and                                        a respirator.
 Then after I got it all clean and down to the surface I used blue masking tape to create the "form" so the epoxy couldn't run off and it became self-leveling to create a flat surface. What you can't see is that I put a bead of clear caulking along the edge about an inch below the surface and when I taped the edge it sealed it so the epoxy couldn't run through any small cracks.
 Epoxy isn't very forgiving, so once you mix the two parts together you're committed to use it immediately because of the chemical reaction. It will get hot and start to harden very quickly.
 I put little colored glass tiles embedded in the grout.
    There are fossils of ancient sea creatures that you                    can still see through the surface.
After the epoxy cured I stripped the form work and scrubbed the latex Caulking off and sanded the outer edge and gave it a rounded chamfer to make it all nice and smooth.

     Next was a few coats of semi-gloss paint on the                 edges to match the rest of the kitchen.
You can see how the finish really magnifies all the detail in the stone and gives the kitchen quite a dramatic effect.
I hope you like the results as much as I do. I can't wait to get back to cooking in it! Thanks for looking and please subscribe and tell your friends. Feel free to contact me any time.
Old is new and vice versa. Our only limitation is our imagination so lets all try to keep something out of landfills and remember, we only live in a disposable world if we support corporations that produce junk.


Tuesday, October 1, 2013

This is an awesome prefab house that creates 150% of all the energy it needs, not mention all the waste conventional building techniques create and continue to waste. Hmmmm?

Monday, September 30, 2013

Howdy, This is a little four (4) minute video of my first patented safety product. I'm actively searching for a manufacturing partner to help get it made and start saving lives! Thanks for looking and please tell your friends. Adios, ~Superman~

Sunday, December 9, 2012

I love when a plan comes together!

Nothin's prettier than workin art.

Pork butt-when that sweet fat melts it'll baste the Turkey underneath it. Pork fat rules! 

These cans are full of the apple cider I marinaded the meat in for over a week. They're surrounded by hickory chips that have been soaked in water. When it cooks the cider turns to steam and mixes with the smoke keeping the meat nice and moist. Can you imagine what this will taste like? I will in about an hour!

Staying right around 200 degrees, just enough to slowly melt the pork fat and make the turkey melt in your mouth. MMMMMMM~

Is there anything more beautiful than that sight and smell in the morning?

A beautiful bird

Boneless Pork butt covered in Gentle Special, drip, drip, drip~

5 Chili Salsa right out of the garden with a mango and a couple huge avocados. I see tacos in my future. Wish you were here~

Thursday, September 27, 2012

Ta-Da! ok cool cats, I finished the paint & detail yesterday so scroll on down and take a look at the finished product!


I looked all over trying to find "stove handles" without luck,  to keep the handles from getting so hot you couldn't grab them without mitts on so I finally decided to just make them out of some stainless steel tubing I had.
Here's how they turned out. I also extended the mounting brackets to accommodate your fingers. They have a really nice feel and work great.
This old nursery shelf and busted shopping cart made a pretty nice heat shield and handy shelf for maybe a big pot of BBQ sauce???

Let me know what you think of the art work? It has a dual purpose. It's also the heat shield for this side.

These drag bars are perfect for rolling the unit around. I still need to find a pair of grips. Anyone got an old pair?

I didn't add a mount for the propane tank because it will actually fit inside one of the drawers. It makes a smaller profile that way and saves some space for something else. (hopefully just as useful)

I put the thermostat at the top of the top drawer because this is the hottest place and easiest to read. Once the whole thing is heated up to around 225-250 for wet smoking you don't have to do anything but check on the wood chips and liquid periodically and replenish when needed. The hard part is waiting for it while you can smell it cooking! I hope you like it. This was a lot of fun and a little challenging at times. I can't wait to put it to use, and on to the next one!

Saturday, September 22, 2012


Hi again all you hungry hombres`! This is me in front of my next project. So- back to the wet smoker.

It took me a while to find the material I wanted, but after careful investigation of the back of several big box stores I managed to liberate some discarded shelves and a smashed shopping cart. 

Made a "grate" heat shield and work surface


 Igniters are pretty finicky so I covered all the ignition wires with shrink tubing to help prevent arcing, and with 50,000 volts it ain't easy! Next it was covered again with a heat resistant wire loom. 
Wires and copper lines go through small channel.
This is fitting the burner and igniter under the bottom drawer.


I test drove the system before final assembly to make sure the burner, igniter and control would have enough volume to generate enough heat through the bottom drawer and still be able to burn the hickory chips and gently boil the liquid to create steam.

As it turned out I needed to increase the jet size to achieve between 250 & 300 degrees. 

I couldn't decide where to put the controls so I ended up making this little dash board and putting them where they made the most sense at eye level.

I really wanted the thermostat on the dash but none have flexible probes unless I used an electronic one so I just put it in the top drawer to get the most accurate information. The top of the wet smoker is the hottest area and closer to the bottom is the cooler area.


This is how it works in miniature just for test driving purposes! Ha, The wet chips go on the bottom and the liquid goes on top. As the wood heats up and smokes the liquid just barely boils releasing steam from whatever you put in it (like apple cider) MMMMM---
This is it's profile how it looks before painting.
I think I'll cook some swordfish on it tonight for my dinner, then I have to take it all apart tomorrow (or next week) and start on the paint. 


Here it is in action! Yum, Yum, Yum I can't hardly wait! See ya soon, Adios~JG