Thursday, September 27, 2012

Ta-Da! ok cool cats, I finished the paint & detail yesterday so scroll on down and take a look at the finished product!


I looked all over trying to find "stove handles" without luck,  to keep the handles from getting so hot you couldn't grab them without mitts on so I finally decided to just make them out of some stainless steel tubing I had.
Here's how they turned out. I also extended the mounting brackets to accommodate your fingers. They have a really nice feel and work great.
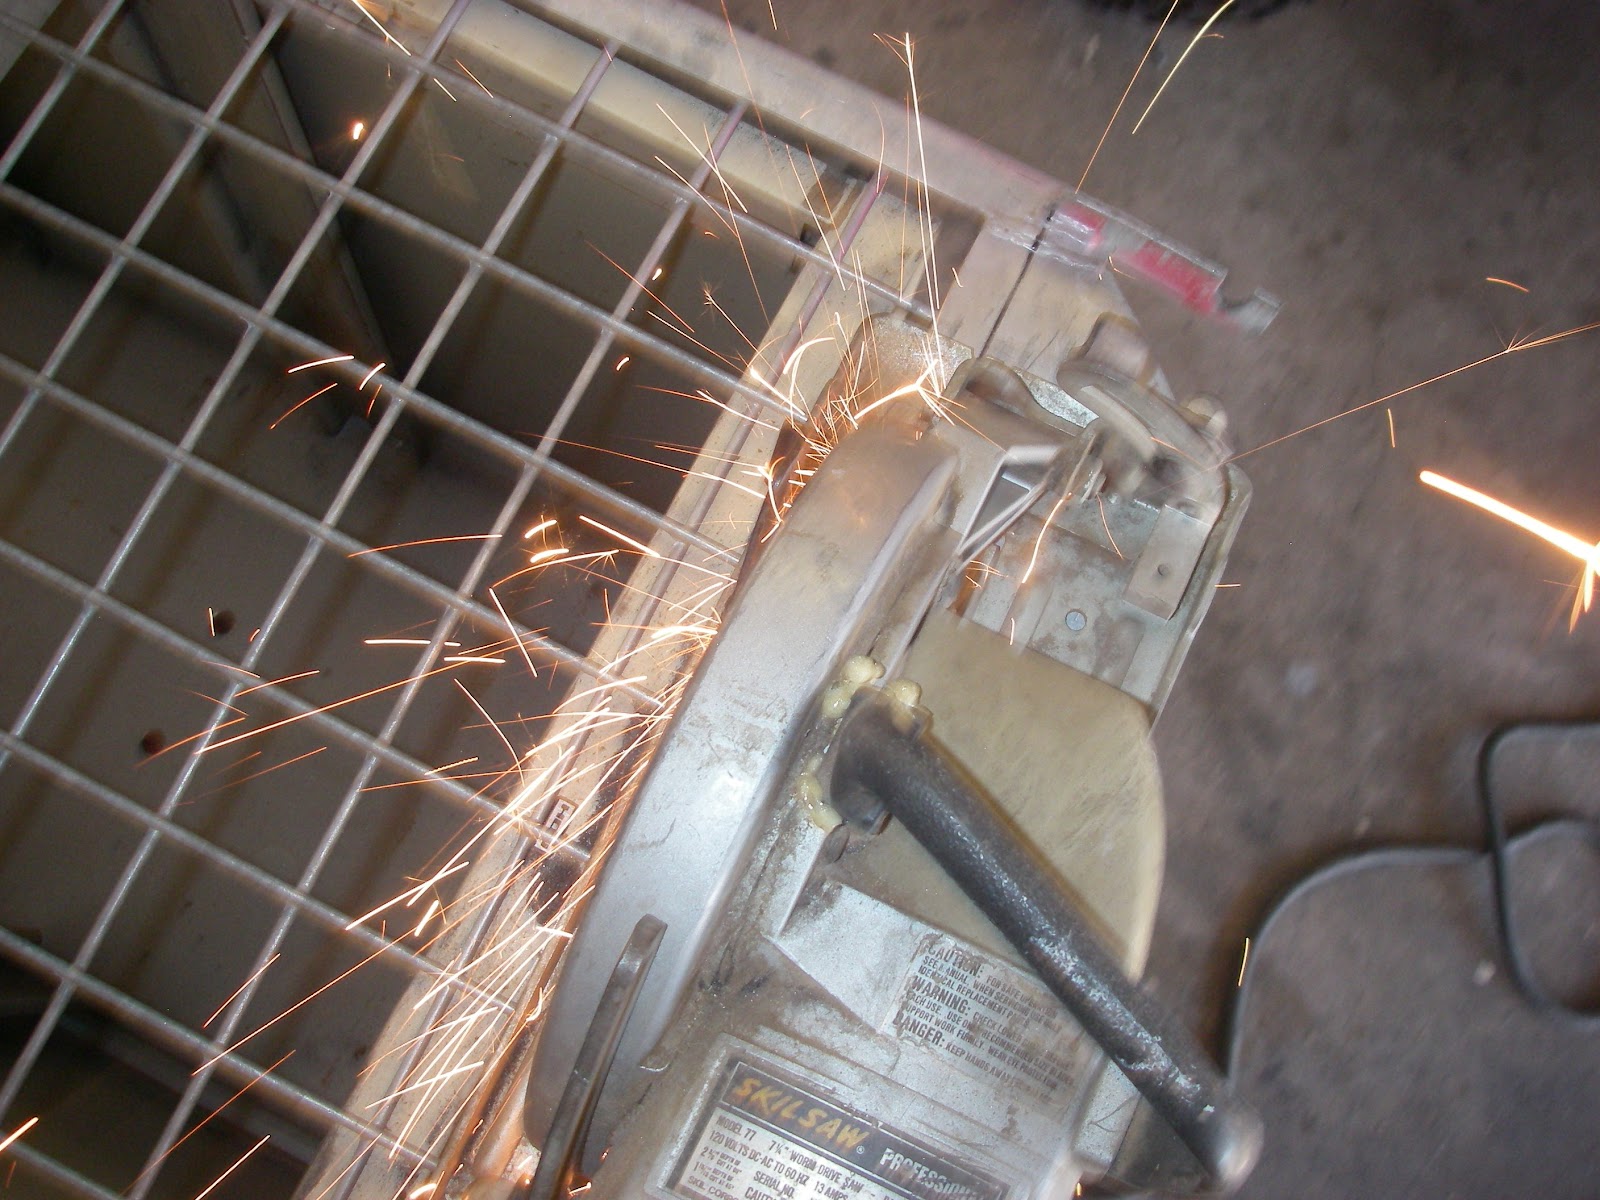
This old nursery shelf and busted shopping cart made a pretty nice heat shield and handy shelf for maybe a big pot of BBQ sauce???

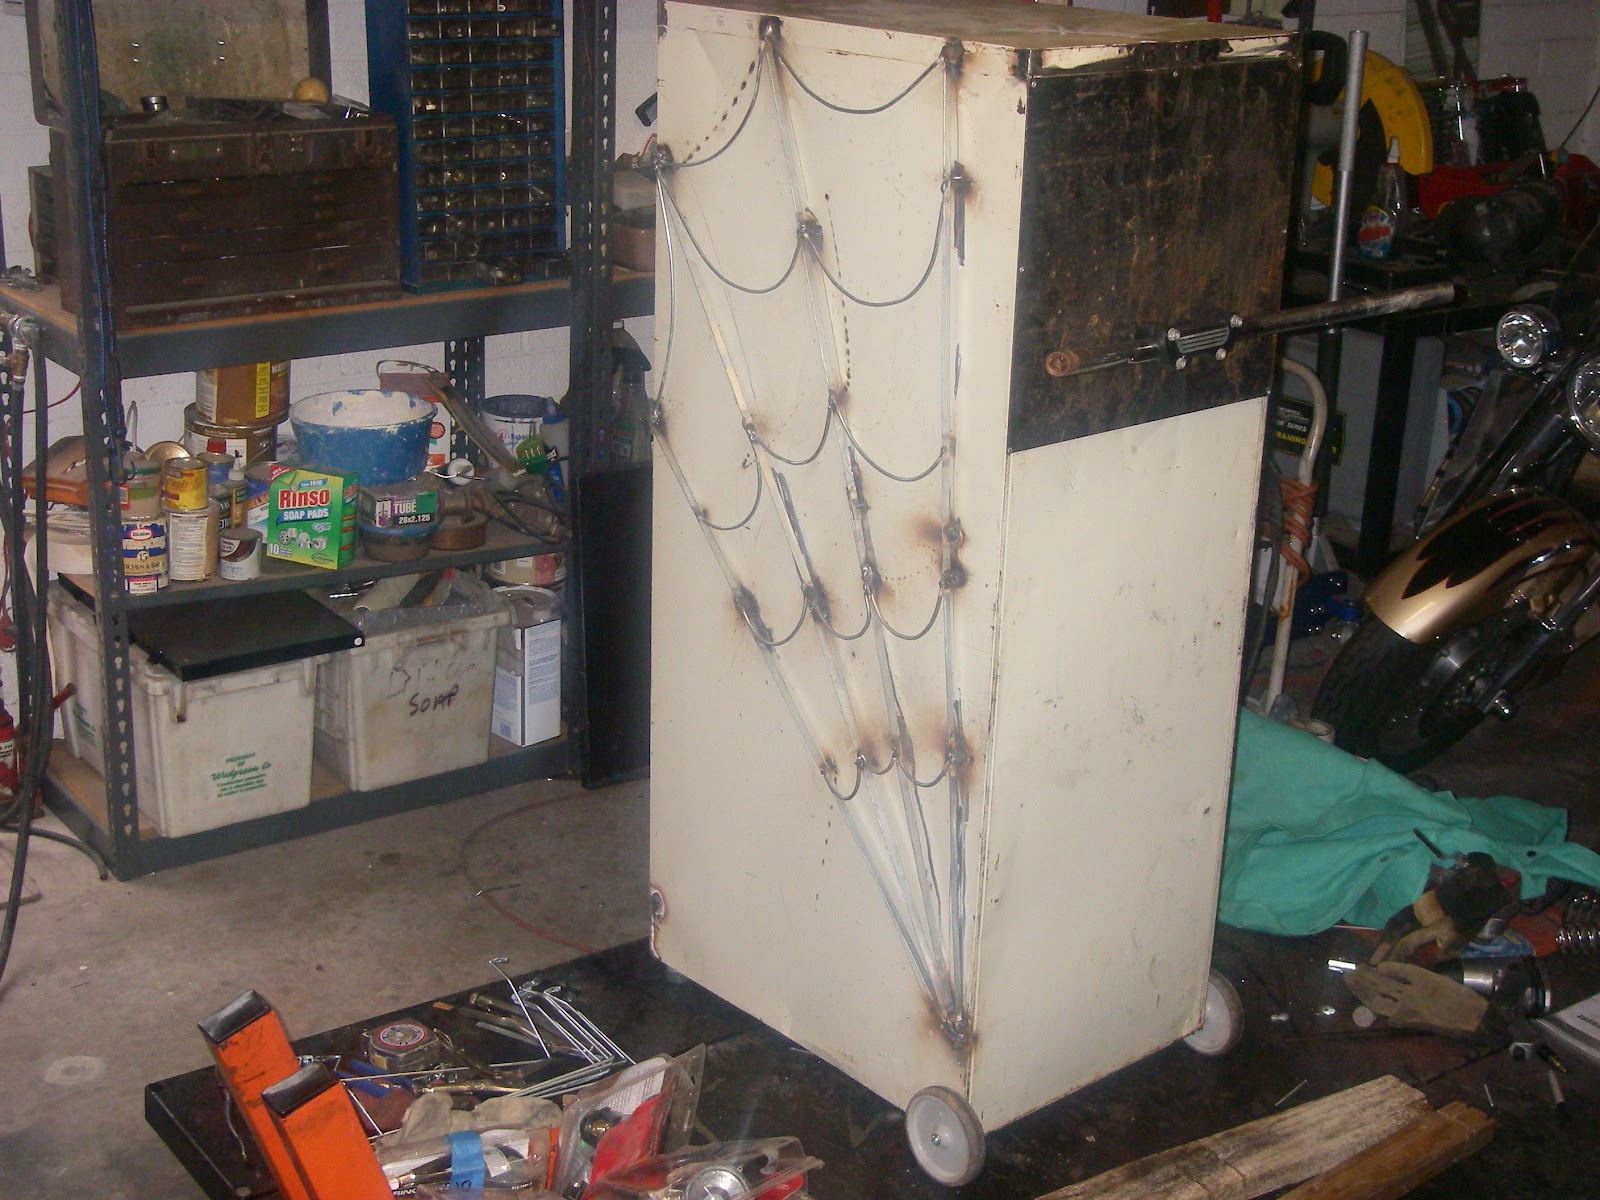
Let me know what you think of the art work? It has a dual purpose. It's also the heat shield for this side.

These drag bars are perfect for rolling the unit around. I still need to find a pair of grips. Anyone got an old pair?

I didn't add a mount for the propane tank because it will actually fit inside one of the drawers. It makes a smaller profile that way and saves some space for something else. (hopefully just as useful)

I put the thermostat at the top of the top drawer because this is the hottest place and easiest to read. Once the whole thing is heated up to around 225-250 for wet smoking you don't have to do anything but check on the wood chips and liquid periodically and replenish when needed. The hard part is waiting for it while you can smell it cooking! I hope you like it. This was a lot of fun and a little challenging at times. I can't wait to put it to use, and on to the next one!

Saturday, September 22, 2012


Hi again all you hungry hombres`! This is me in front of my next project. So- back to the wet smoker.

It took me a while to find the material I wanted, but after careful investigation of the back of several big box stores I managed to liberate some discarded shelves and a smashed shopping cart. 

Made a "grate" heat shield and work surface


 Igniters are pretty finicky so I covered all the ignition wires with shrink tubing to help prevent arcing, and with 50,000 volts it ain't easy! Next it was covered again with a heat resistant wire loom. 
Wires and copper lines go through small channel.
This is fitting the burner and igniter under the bottom drawer.


I test drove the system before final assembly to make sure the burner, igniter and control would have enough volume to generate enough heat through the bottom drawer and still be able to burn the hickory chips and gently boil the liquid to create steam.

As it turned out I needed to increase the jet size to achieve between 250 & 300 degrees. 

I couldn't decide where to put the controls so I ended up making this little dash board and putting them where they made the most sense at eye level.

I really wanted the thermostat on the dash but none have flexible probes unless I used an electronic one so I just put it in the top drawer to get the most accurate information. The top of the wet smoker is the hottest area and closer to the bottom is the cooler area.


This is how it works in miniature just for test driving purposes! Ha, The wet chips go on the bottom and the liquid goes on top. As the wood heats up and smokes the liquid just barely boils releasing steam from whatever you put in it (like apple cider) MMMMM---
This is it's profile how it looks before painting.
I think I'll cook some swordfish on it tonight for my dinner, then I have to take it all apart tomorrow (or next week) and start on the paint. 


Here it is in action! Yum, Yum, Yum I can't hardly wait! See ya soon, Adios~JG


Thursday, September 6, 2012

I added some reinforcement steel to support the handle bars.

First I had mounted the bars at the top of the cabinet but I'm tall and I thought it would be better served if I lowered them to a more reasonable height so I added this piece of sheet metal to give it plenty of support.

Here I tig welded the corners to stiffen the cabinet.

I used rivets on all the sheet metal for a strong long life of service, Yum!

The cabinet may get pretty hot  so, I wanted to create some kind of heat shield, and add a touch of aesthetics to give it a little character. I made these spider webs from the file racks and spot welded them in place with the wire feed mig welder.  


webs are done, for now next the burner and controls then to paint!