Thursday, September 6, 2012

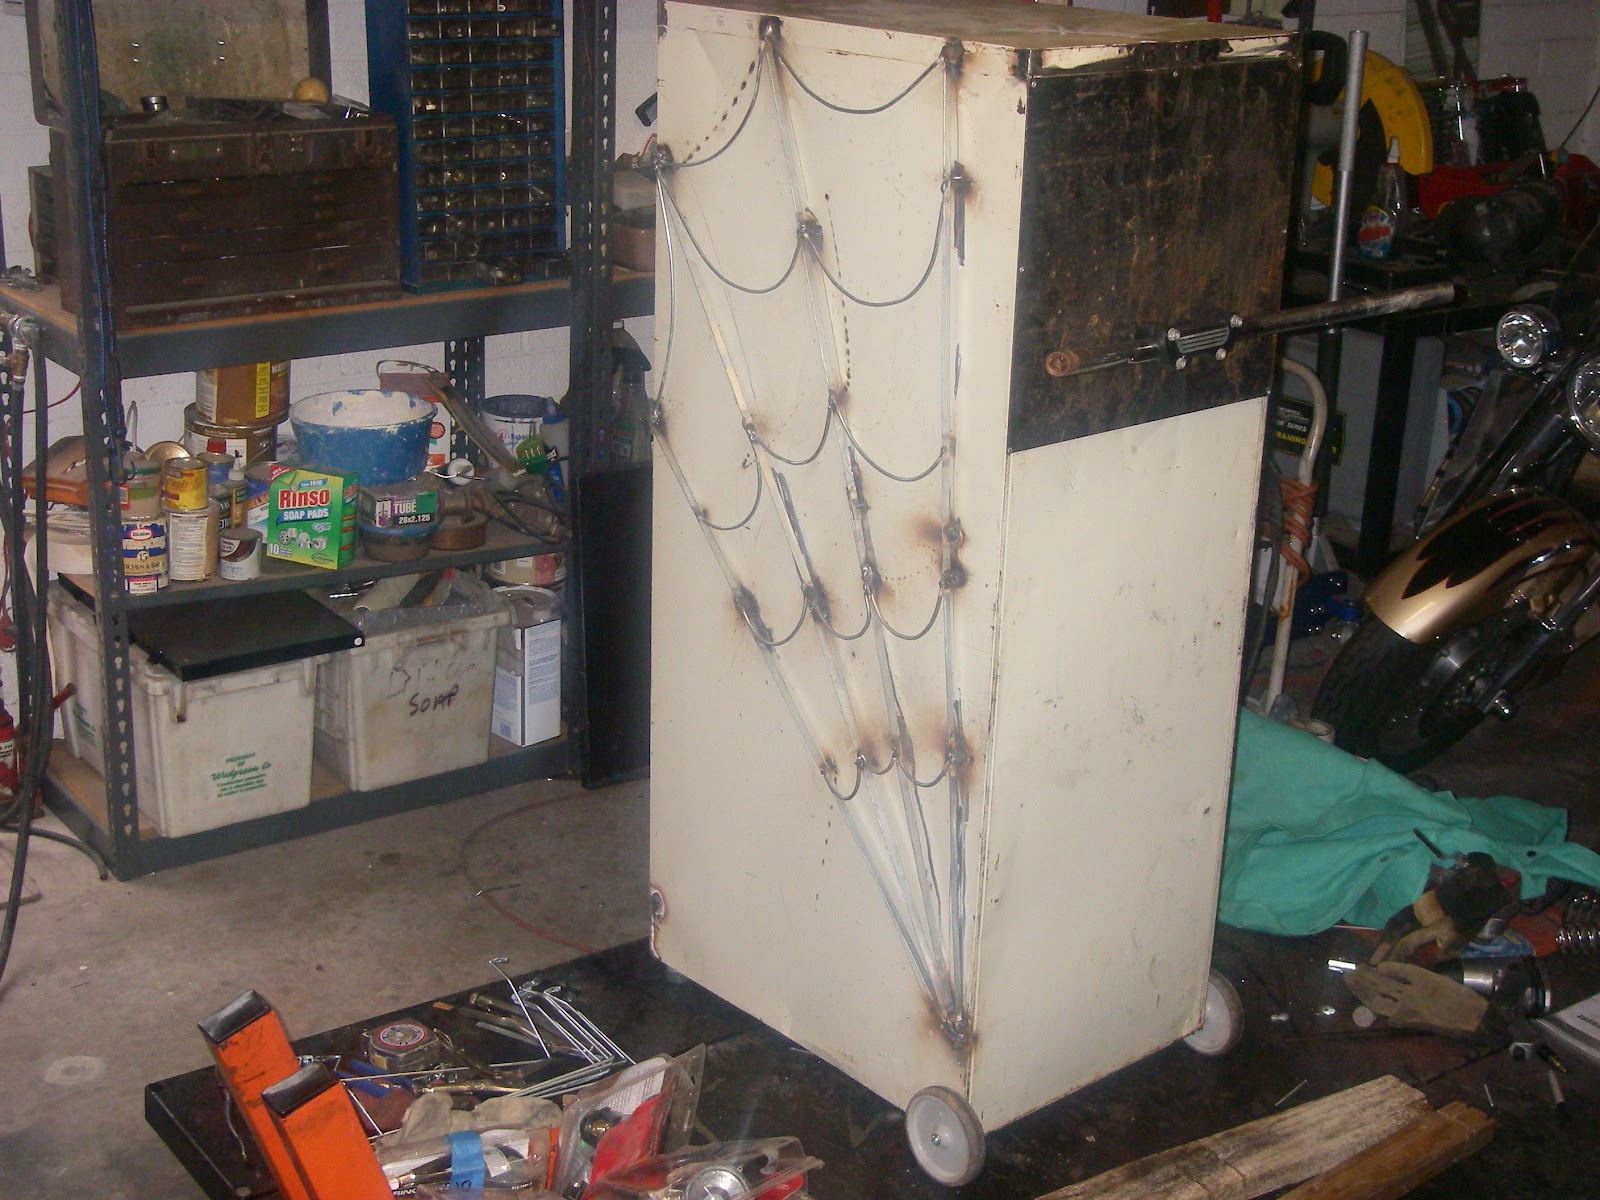
I added some reinforcement steel to support the handle bars.

First I had mounted the bars at the top of the cabinet but I'm tall and I thought it would be better served if I lowered them to a more reasonable height so I added this piece of sheet metal to give it plenty of support.

Here I tig welded the corners to stiffen the cabinet.

I used rivets on all the sheet metal for a strong long life of service, Yum!

The cabinet may get pretty hot  so, I wanted to create some kind of heat shield, and add a touch of aesthetics to give it a little character. I made these spider webs from the file racks and spot welded them in place with the wire feed mig welder.  


webs are done, for now next the burner and controls then to paint!

Wednesday, August 29, 2012

OK Guys & Dolls, here's the latest on the wet smoker

Here's an old pair of drag bars from my Panhead with a simple black riser and two sets of solo seat springs. I'm gonna add the bars to the top back so it will be easy to move around and use the springs for the drawer handles like a wood stove. They'll act like a heat sink and keep the handles from getting "too hot to handle"! Ha, ha~

This is what the drawers look like after I cut out the bottoms so the smoke can travel all the way through the cabinet.

Notice the perfectly fitting wire grates I received in the mail all the way from Canada from Pauline compliments to her Mother!
Thank you both for such a nice gift and for allowing me to recycle some of your old stove. Don't you wish the rest of the world could get along and do something as simple and productive as we just did?

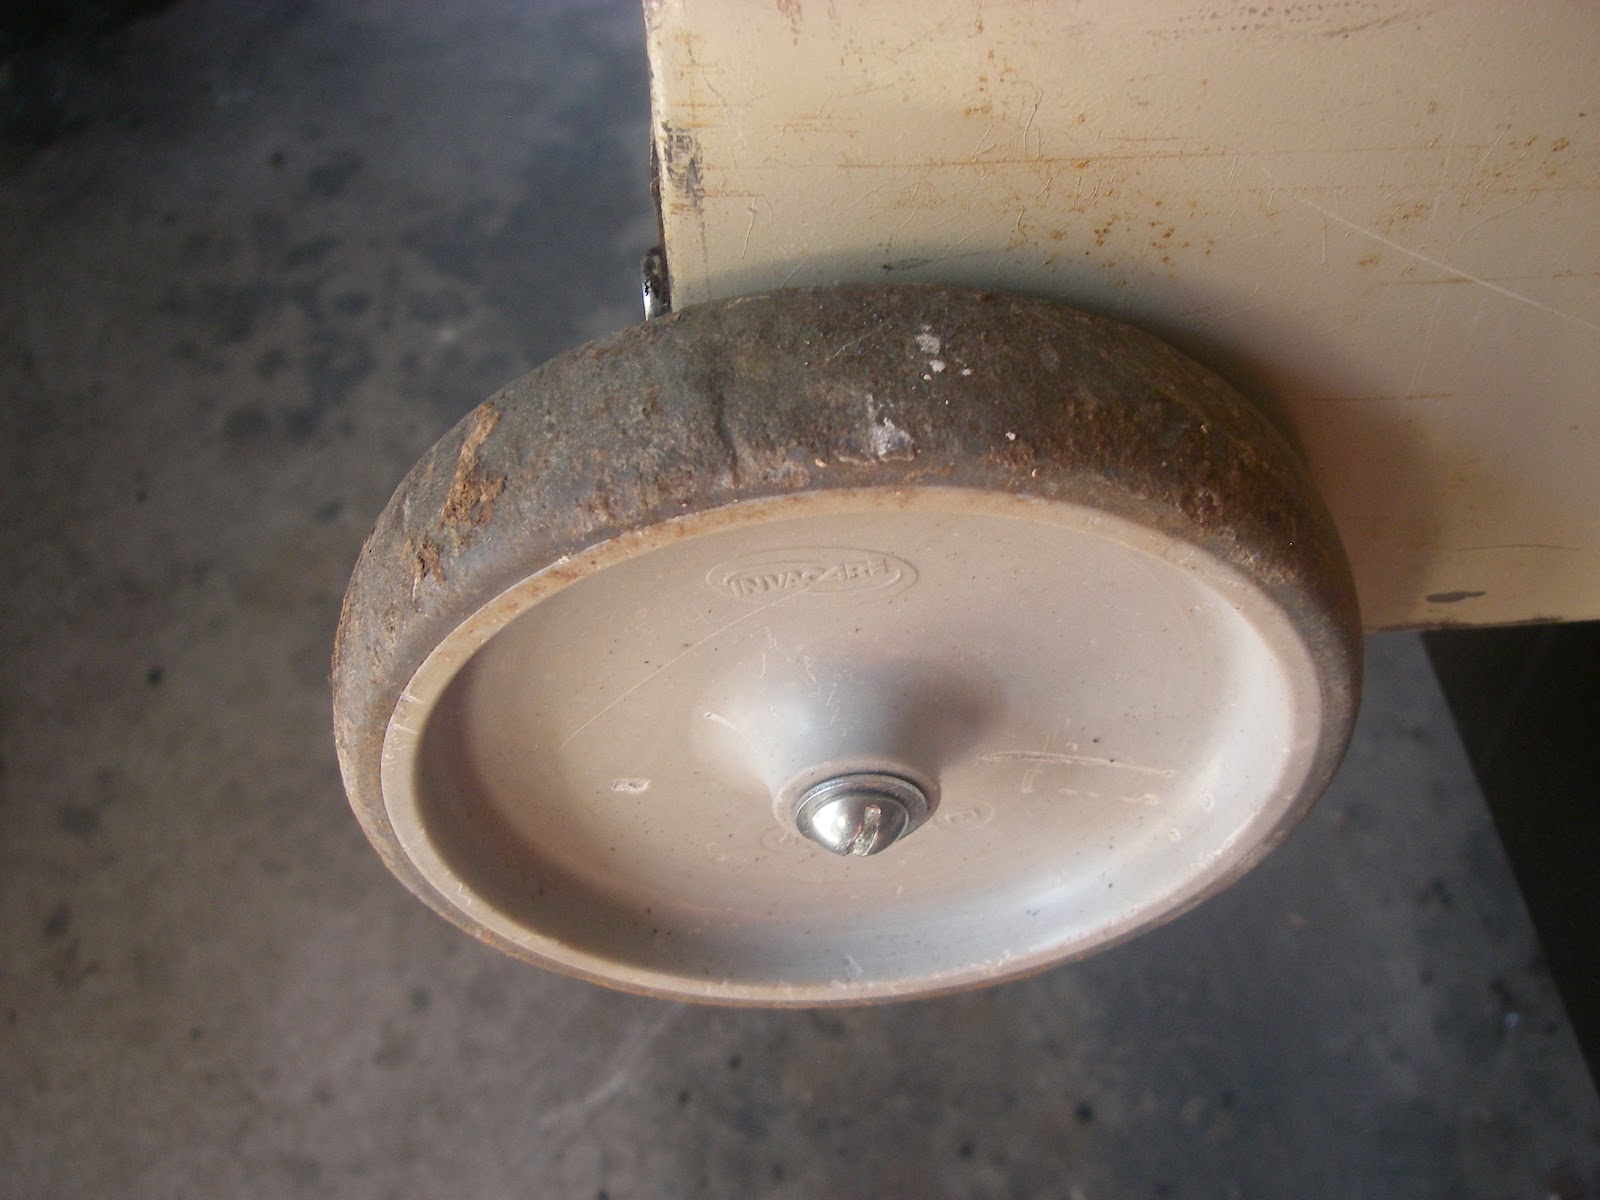
I had an old walker left over from when I had my hip replaced a few years ago and thought it could make a good contribution to this project. Here you can see that I mounted the wheels in back giving the cabinet a couple inches of ground clearance that I'll need later for circulation when I install the Gas burner.

simple 1/4"axle for walker wheels.

These are the front legs of the walker. I measured the necessary length and used a tubing cutter to cut them perfectly square.

I used a large uni-bit to drill out the cabinet bottom then slid the legs through and secured them with tech screws inside to both sides of the cabinet so the screws wouldn't be visible and creates a really strong leg and helps keep the cabinet stable for a long time

This is how she looks so far. Nice and stable and rolls around great!

Thursday, August 9, 2012

Wet Smoker file cabinet

When I disassembled the file cabinet I discovered that the drawer bearings were plastic.
I tested the plastic bearings in my commercial oven and discovered they would only withstand less than 300 degrees F before melting so, I removed all the plastic components from inside the cabinet.
 I drilled out the old rivets that held all 32 plastic bearings and removed them.

Then replaced the old plastic bearings with new steel rivets acting as an axle and steel washers becoming the new drawer bearings.


New steel drawer bearing made from simple 3/16 X 5/16 steel rivet and 3/16 X 1" steel fender washers.

Completed heat resistant chassis for drawers


Finished cabinet with new steel heat resistant bearings that works fantastic! Ready for the next step of conversion to wet smoker- stay tuned!

Wednesday, August 8, 2012


Howdy, OK here's my next project. I've wanted to do something like this for quite a while. I used to have a wet smoker and used it so much that I actually wore it it out and it literally fell to pieces! All my neighbors and friends wanted me to cook their thanksgiving and holiday turkeys. So I came up with this idea of converting a four drawer file cabinet into a wet smoker. Remember-"nothing is as it seems" so, you have to use your imagination. I just picked the file cabinet up this morning, Recycled from Savers here in Phoenix supporting the Boys and Girls clubs of Arizona so you'll have to follow me as work progresses and please feel free to leave a comment or any questions you may have, and thanks in advance for your support, Adios~JG

Tuesday, July 31, 2012

John Deere Gator 6X4


Hi, I also picked up this Gator from the University of Missouri agroforestry Dept and have had a ton of fun restoring it. Me & "Jack" took it out to the desert and put it through it's paces and what a ball. This monster will climb a tree if you want. It's a real work horse.

Honda CR500 for sale too!

This CR500 had been neglected and abused so I disassembled most of it and replaced the wheel bearings and brakes, chain guides and rollers and a new O-Ring chain, cleaned out the gas tank & carb then lots of elbow grease, soap and water

Howdy, Here's my latest projects- Restoring a classic 1985 Honda CR500 one of the fastest production motocross bikes available at the time, and man is it!

Sunday, July 29, 2012

1967 Airstream Ambassador remodel

Here are some pictures of when I cut out the original aluminum window frames for curved glass, and installed new straight frames for flat tempered glass.

This is a carbide router bit used to cut out the original curved window frames


Now the frames are clean and flat ready for the new template


I had to completely gut the interior due to dry-rot


New window with tempered flat glass and weather seal.


You can see the new frame for flat glass.


New window of flat tempered glass with new Stainless Steel clips.


Here I'm drying some cedar fencing I recycled milling it into tongue & groove flooring. 

Here's a picture of a finished window.